This project was intended to be a super simple Arduino project, but ended up being harder to do than I anticipated. For the Fourth of July, instead of fireworks, I wanted a fun little display timed up with a rocket launch, and this is the project that came from it.
Display Code
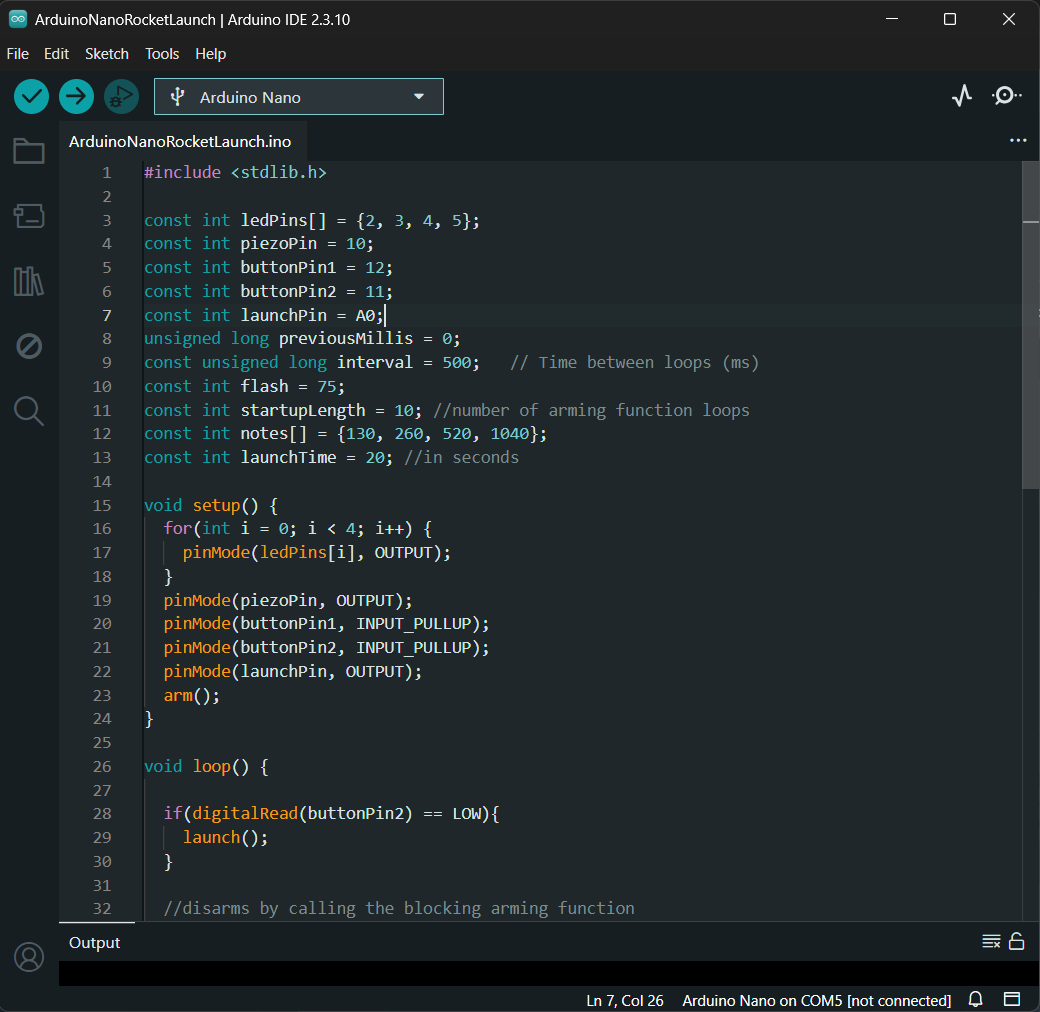
This part was the easiest for me. Using a bootleg Arduino Nano, I programmed together a series of LEDs and a piezo.
The programming was actually fairly interesting. I wanted an interesting arming sequence and an interesting launch sequence while keeping things as safe as possible.
What I ended up doing was a lot of function calls and ensuring the main loop couldn't call the launch function without running through the arming function. Then, I made the arming button also work as a disarming button, making sure the system could only be fired intentionally. Finally, the display and sound were both run through simple iterative loops to have the effect I was going for, and I made the launch function activate a single pin to flip the electrical system and start ignition.
Electrics
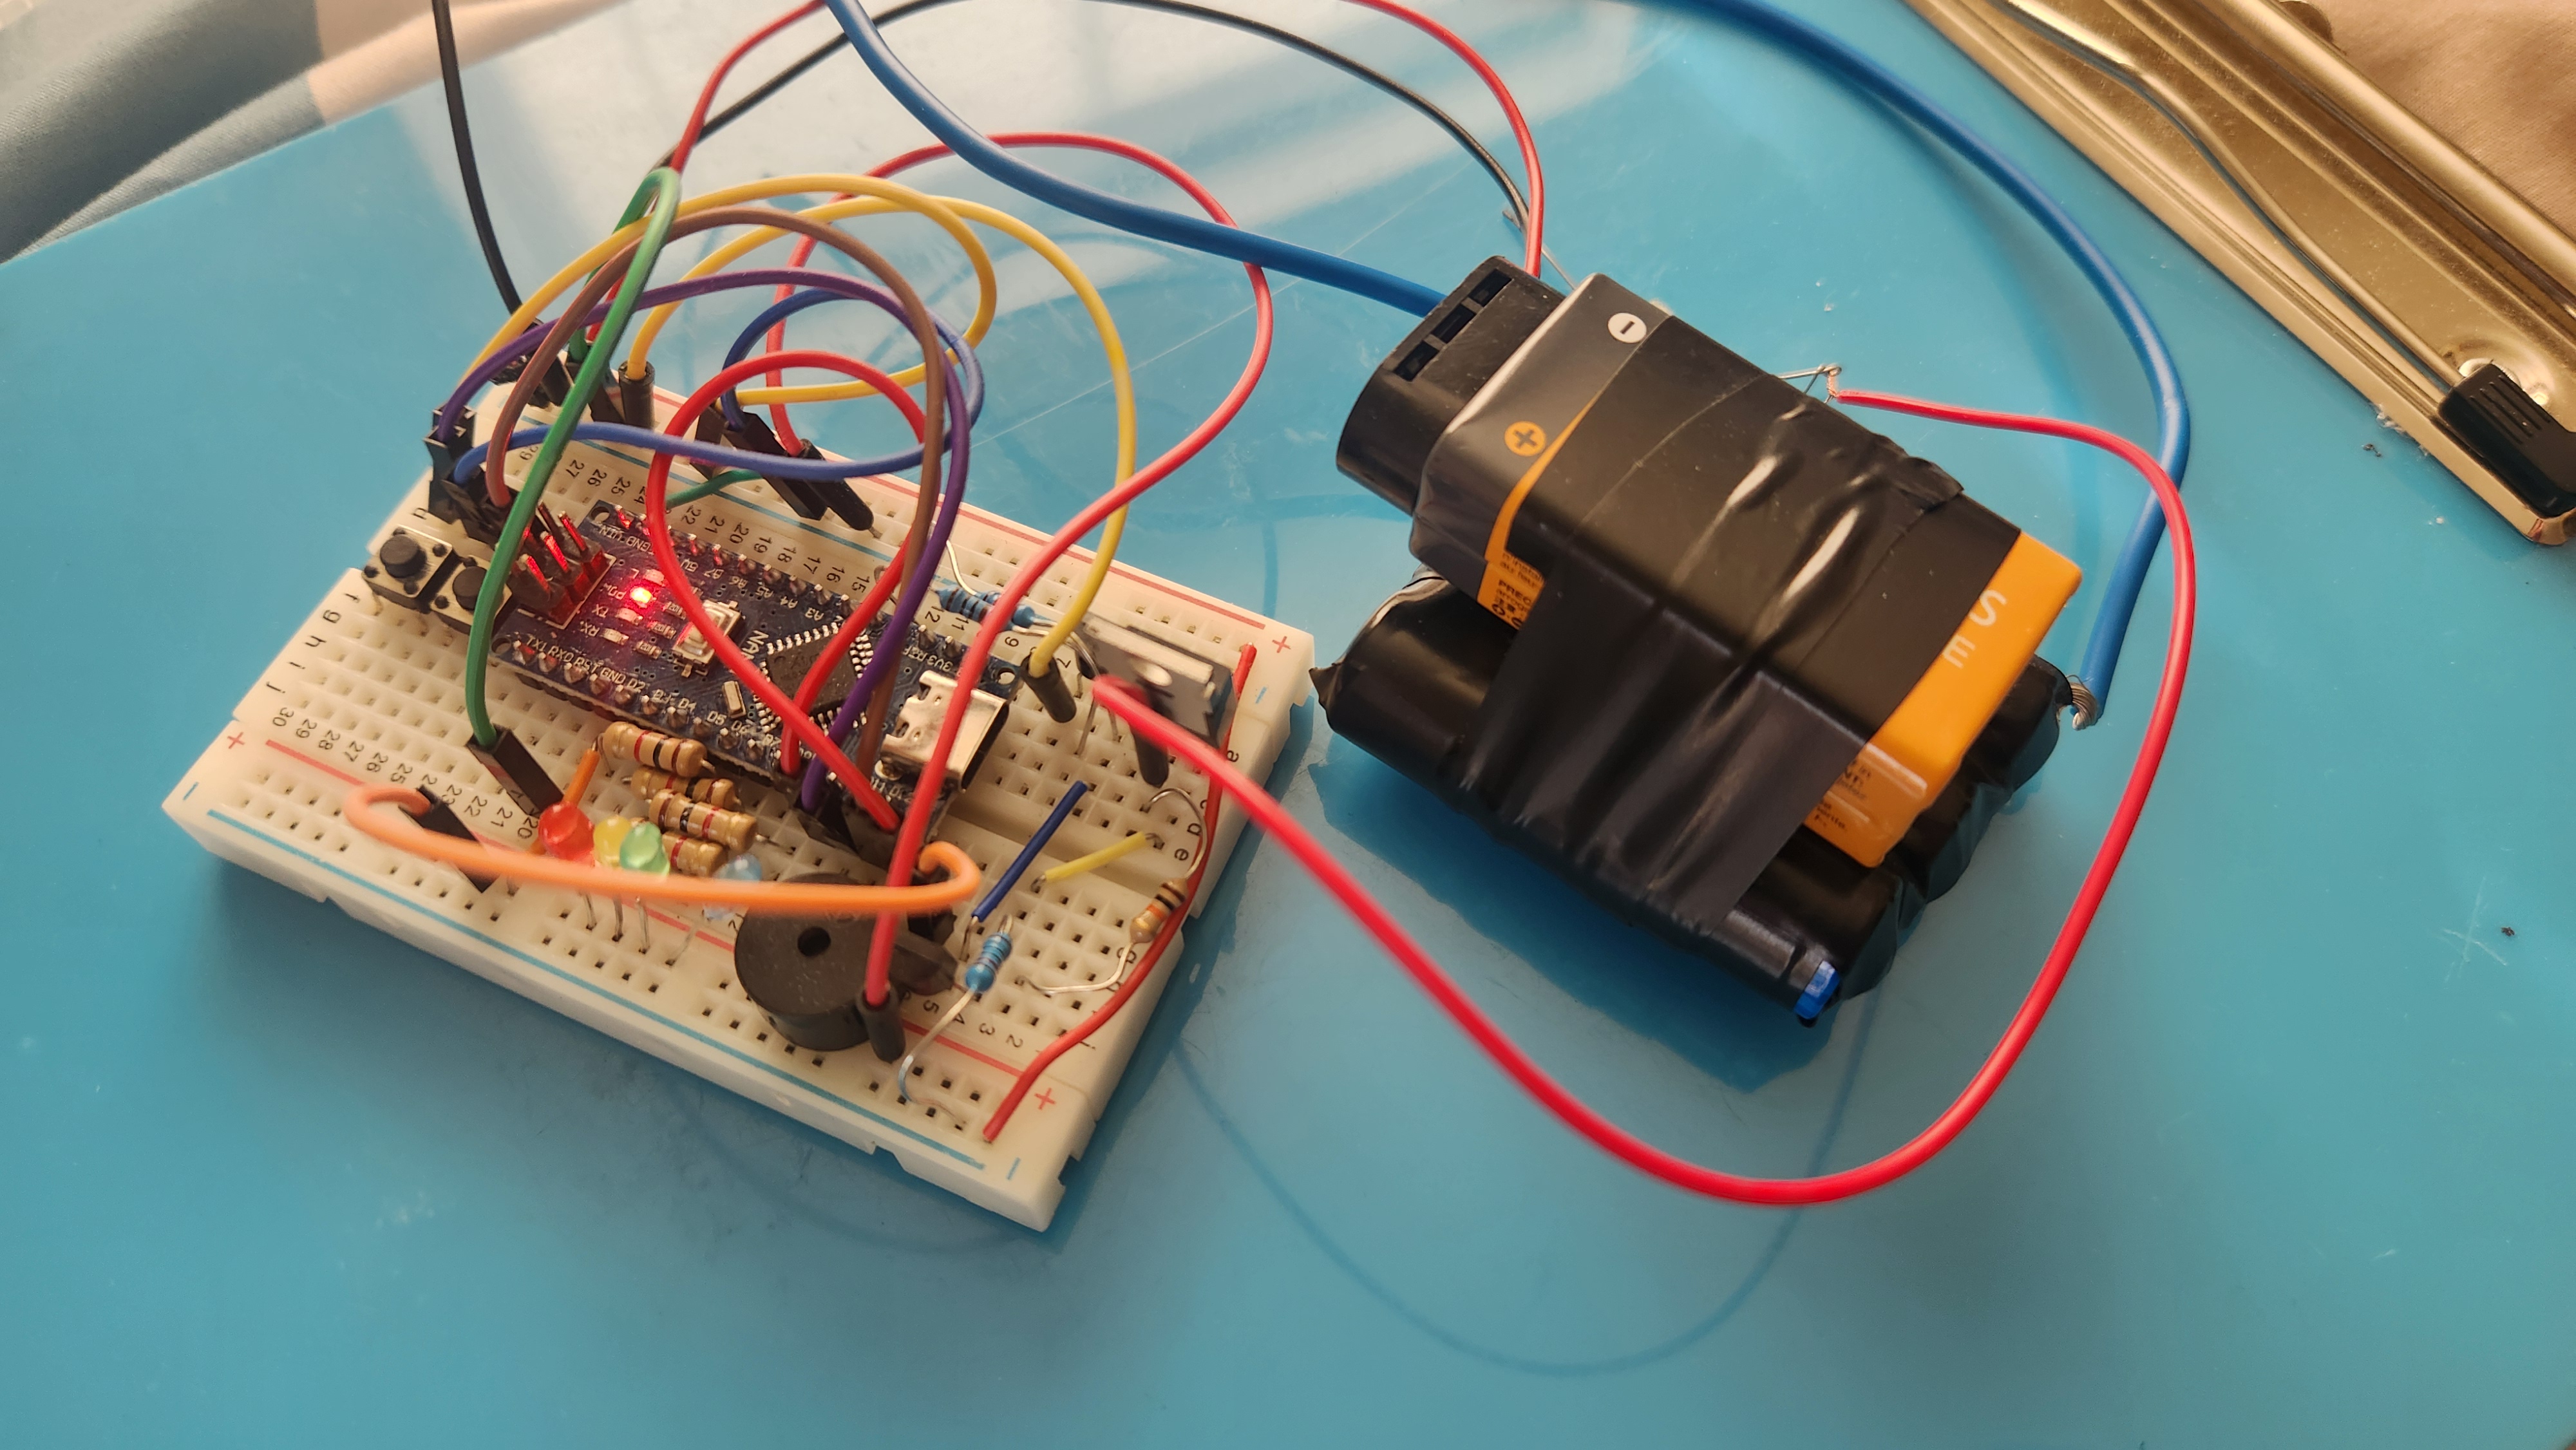
This part of the system was the most surprisingly difficult to me. I knew the Arduino wouldn't be able to handle ignition-capable electrical loads, but did not know it wouldn't have the power to directly switch a large enough transistor either! I ended up with four different levels of power loops from two power supplies.
My 9-volt battery supplied a low positive voltage for the LEDs through the resistor, a slightly higher voltage through the Arduino to run its electronics, and its full voltage went to the transistors to have enough power to switch the MOSFET. Then I built my own battery pack from AAs to have enough voltage and amperage to go through the MOSFET and drive ignition.
The final problem came from how transistors work. For safety purposes, I wanted to keep the system unplugged until ready to use to avoid accidental discharge. I also needed to make sure the ignition system only triggered on a positive signal from the Arduino, as no matter how it was programmed there would be a short pause between power being plugged in and the Arduino sending a signal, resulting in accidental discharge.
Transistors are made to be pulled down to ground, so in order to keep the system safe and have enough power through my system for the MOSFET, I sent my signal from the Arduino to one resistor, which then opened to 9 volts, then to another transistor at 9 volts, which finally had enough voltage on a positive signal from my Arduino for my MOSFET to flip and heat the ignition coil.
Ignition
This part of the project was really interesting to me. My MOSFET gave me a lot of electrical power to work with for ignition, but finding the right method and materials, especially on the cheap, was a fun challenge.
The voltage and current I went for from my battery pack was based off of a store-bought ignition system, so my first attempt was with store-bought ignition plugs! These worked great, but I don't like buying things, so I tried repairing and reusing the wire with a match head, which also worked really effectively.
At this point, I considered the project fully done, but further experiments will likely involve experimenting with different amounts of electrical power and different types and gauges of commercially available wire to see if there are even more economical versions of my system.